Install
Prerequisites
Just one thing to install: Docker + Docker Compose. Everything else runs inside containers. The only other decision is where it runs and what screen you look at it on — pick one of the three setups below.
Don't have Docker yet? Install it first
Recent Docker versions bundle Compose, so installing Docker covers both.
Windows or Mac (Option 1 on your own computer): install Docker Desktop — a normal app installer.
A Linux server or the thin client (Options 2 and 3, e.g. Debian 12 headless): use Docker's convenience script, then allow your user to run it without
sudo:bashcurl -fsSL https://get.docker.com | sudo sh sudo usermod -aG docker $USER # log out and back in for this to take effect
Verify it's ready before continuing:
docker --version
docker compose version
Both should print a version. Full per-distro instructions: docs.docker.com/engine/install.
Choose your setup
You don't have to commit to a wall panel to try OpenFamHub. Start with Option 1 in five minutes; move up only when you're ready.
Option 1 — Just try it (one machine, no touchscreen)
Run Docker and open the browser on the same computer — your laptop or desktop. Nothing else needed. Best for evaluating the app and clicking through the demo data.
┌──────────────────────────────────┐
│  Your laptop / desktop           │
│                                  │
│   Docker  ───────▶  Browser tab  │
│   :8080             localhost    │
└──────────────────────────────────┘
        open  http://localhost:8080
Option 2 — App on a server, view on a tablet/phone
Run Docker on an always-on machine (a NAS, mini-PC, home server, or an old laptop you leave on) and open the browser on a separate tablet or phone on the same Wi-Fi. This is the realistic "family dashboard on a cheap tablet" setup without any kiosk hardware.
┌────────────────────┐        Wi-Fi / LAN        ┌────────────────────┐
│  Server box        │  ◀─────────────────────▶  │  Tablet or phone   │
│  Docker  :8080     │                           │  browser           │
│  (NAS / mini-PC /  │                           │                    │
│   old laptop)      │                           │                    │
└────────────────────┘                           └────────────────────┘
      the machine's LAN IP  ──▶  http://192.168.x.x:8080
Find the server's LAN IP with ip addr (Linux) or ipconfig (Windows). To reach it from outside the house — or from phones you want on the companion PWA — see Networking.
Option 3 — Full wall kiosk (the reference build)
A cheap thin client runs both Docker and a full-screen Chromium browser, wired to a wall-mounted touchscreen. The browser auto-launches pointed at localhost, so the panel just shows the dashboard on boot.
┌───────────────────────────────────────────┐
│  Thin client on the wall                  │        ┌──────────────┐
│                                           │        │ Touchscreen  │
│   Docker :8080 ──▶ Chromium (full screen) │ ─────▶ │  (the wall)  │
└───────────────────────────────────────────┘        └──────────────┘
        http://localhost:8080  (auto-fullscreen on boot)
This is the setup the project was built around — see Hardware for the ~$140 reference build and Kiosk setup for turning the thin client into an auto-booting display.
Same app, same install
All three run the identical docker compose up below. The only difference is which machine runs it and what URL you open. You can start on your laptop (Option 1) and move the exact same setup onto a thin client later.
Quick start
git clone https://github.com/alitarraf/openfamhub.git
cd openfamhub

# 1. Configure (optional — runs in demo mode with everything blank)
cp .env.example .env
# edit .env — see Integrations for what each variable does

# 2. Start
docker compose up -d --build

# 3. Open it
#    Wall:            http://localhost:8080
#    Companion PWA:   http://localhost:8080/m
localhost is right when you open the browser on the same machine (Options 1 and 3). Opening from a separate tablet or phone (Option 2), swap localhost for the server machine's LAN IP — e.g. http://192.168.1.50:8080.
Stop with docker compose down. Logs: docker compose logs -f app.
After editing .env
Use docker compose up -d, not docker compose restart — restart reuses the old environment and won't pick up new values. If a value still looks stale: docker compose down && docker compose up -d.
Try it with nothing configured
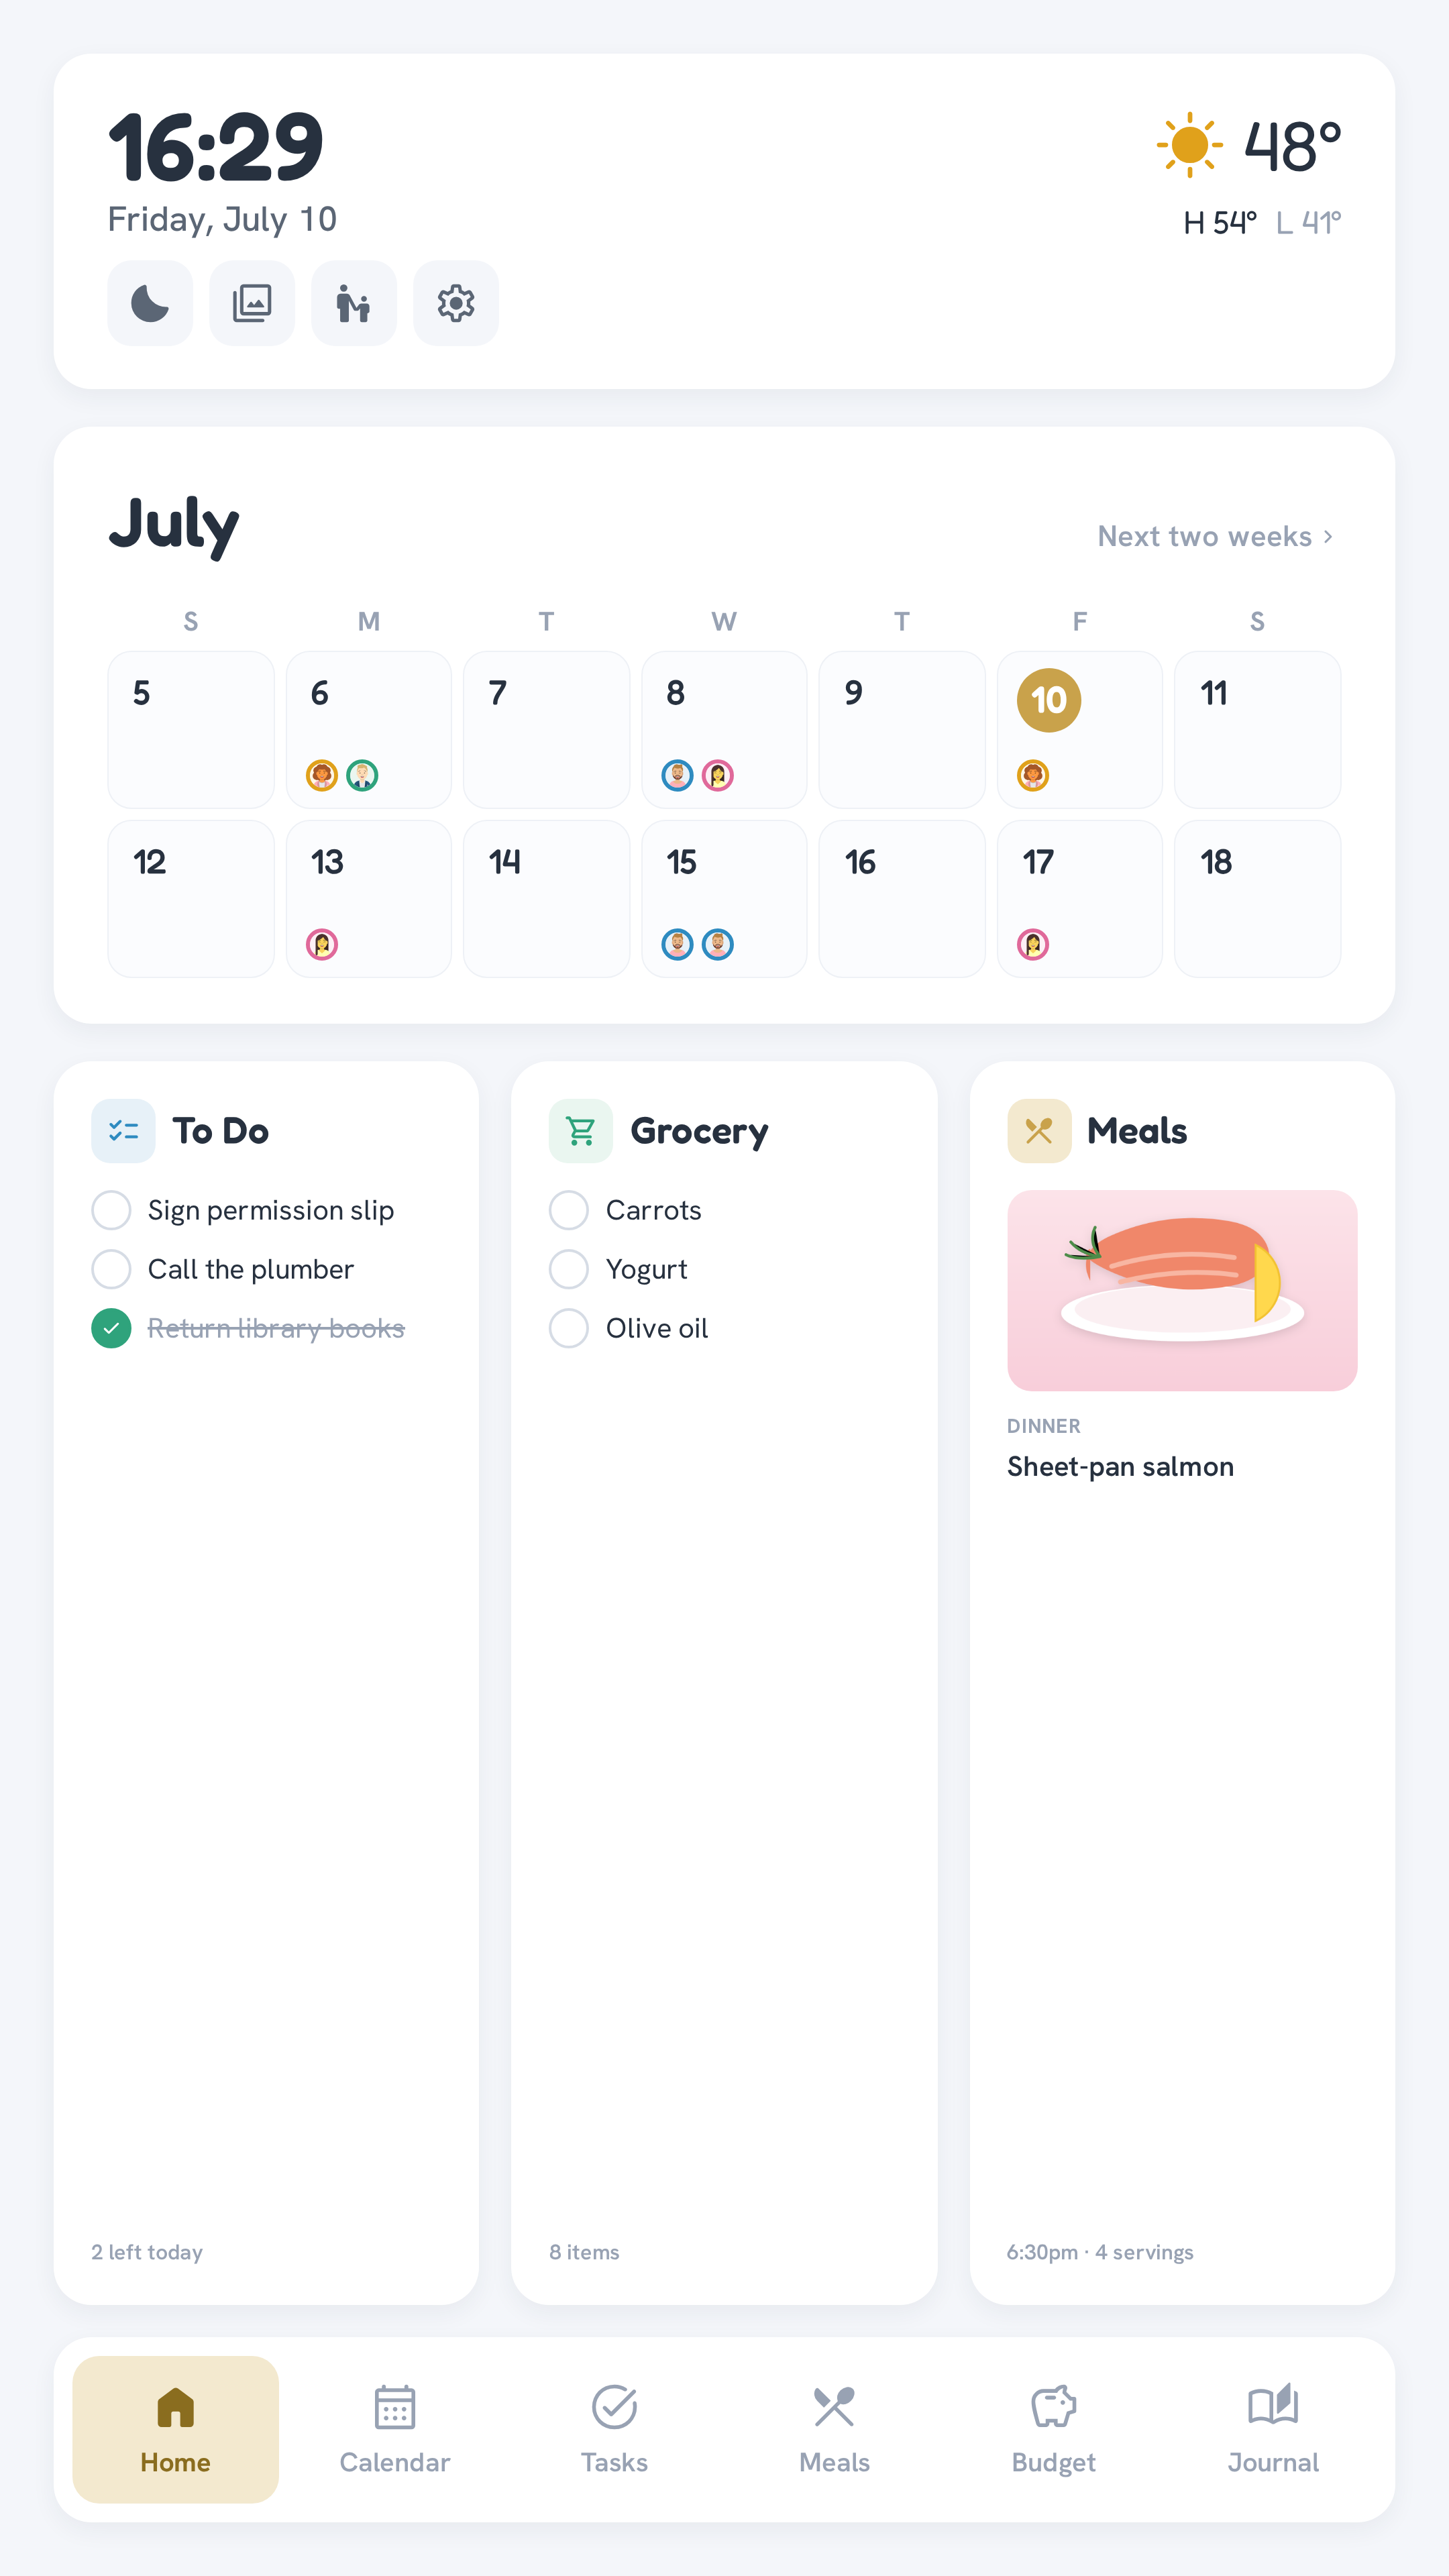
Every screen falls back to bundled demo data when its data source isn't configured, so the app is fully browsable with an empty .env — useful for checking the layout before wiring up any real accounts. Once you're ready, work through First-time setup.