Hardware
OpenFamHub is deliberately hardware-light: any device that can run a Docker host and any device that can display a full-screen browser will do. They can even be the same box. Nothing in this section is mandatory — a spare tablet propped in a stand runs the whole experience. What follows is the reference build the project was developed and tested against, plus the mounting and calibration notes that took real trial and error, so you can copy it (or just borrow the parts that fit your wall).
This section grows
The build below is one tested rig. As the project gets tried on other thin clients, displays, and single-board computers, each verified combination gets added to Tested hardware at the bottom. If you get it running on something new, a PR adding a row is very welcome.
Reference build
| Part | Model | Role | Cost |
|---|---|---|---|
| Thin client | Dell Wyse Zx0 (7010), AMD G-T56N | Docker host + kiosk browser | ~$40 used (eBay) |
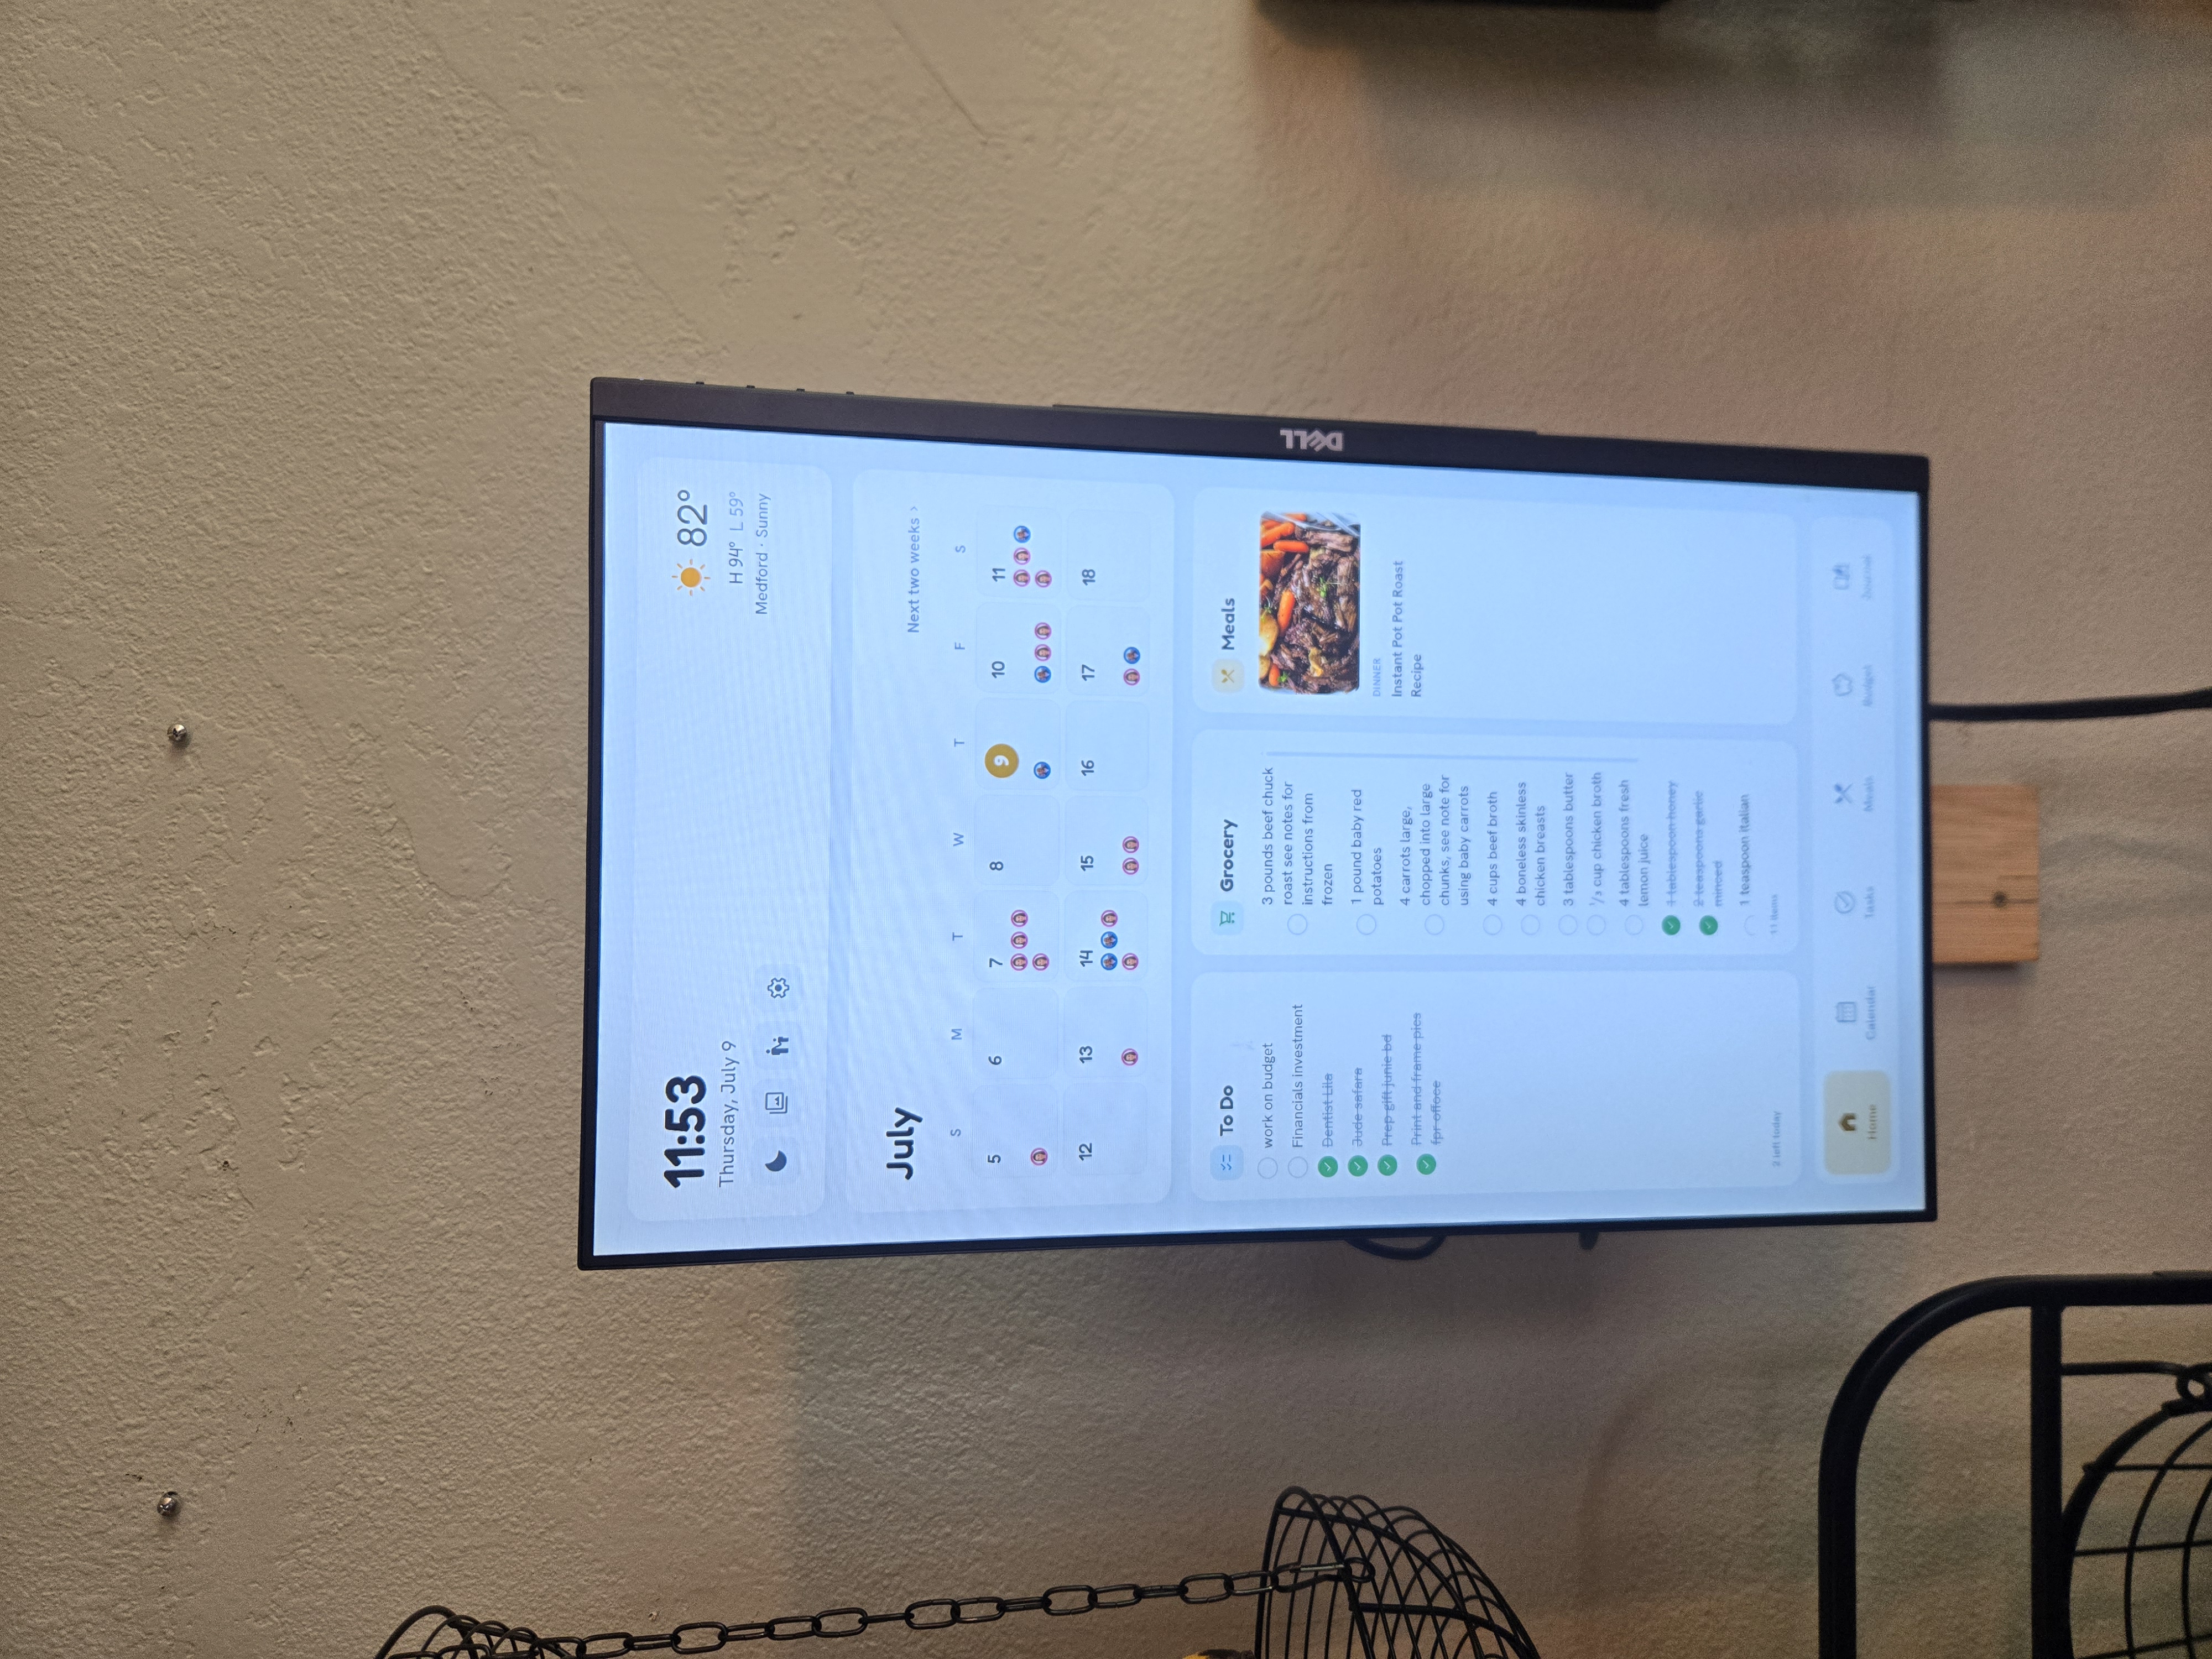
| Touchscreen | Dell P2418HT, 24″ 10-point touch | The wall display | ~$100 used (eBay) |
| Mount | Single gas-spring monitor arm + a ½″ common board | Wall mount with adjustable height | on-hand |
Total for the wall unit: ~$140 plus a mount, on hardware that's a decade old and draws a few watts. The Mealie recipe server runs separately on a main home PC — see Docker host.
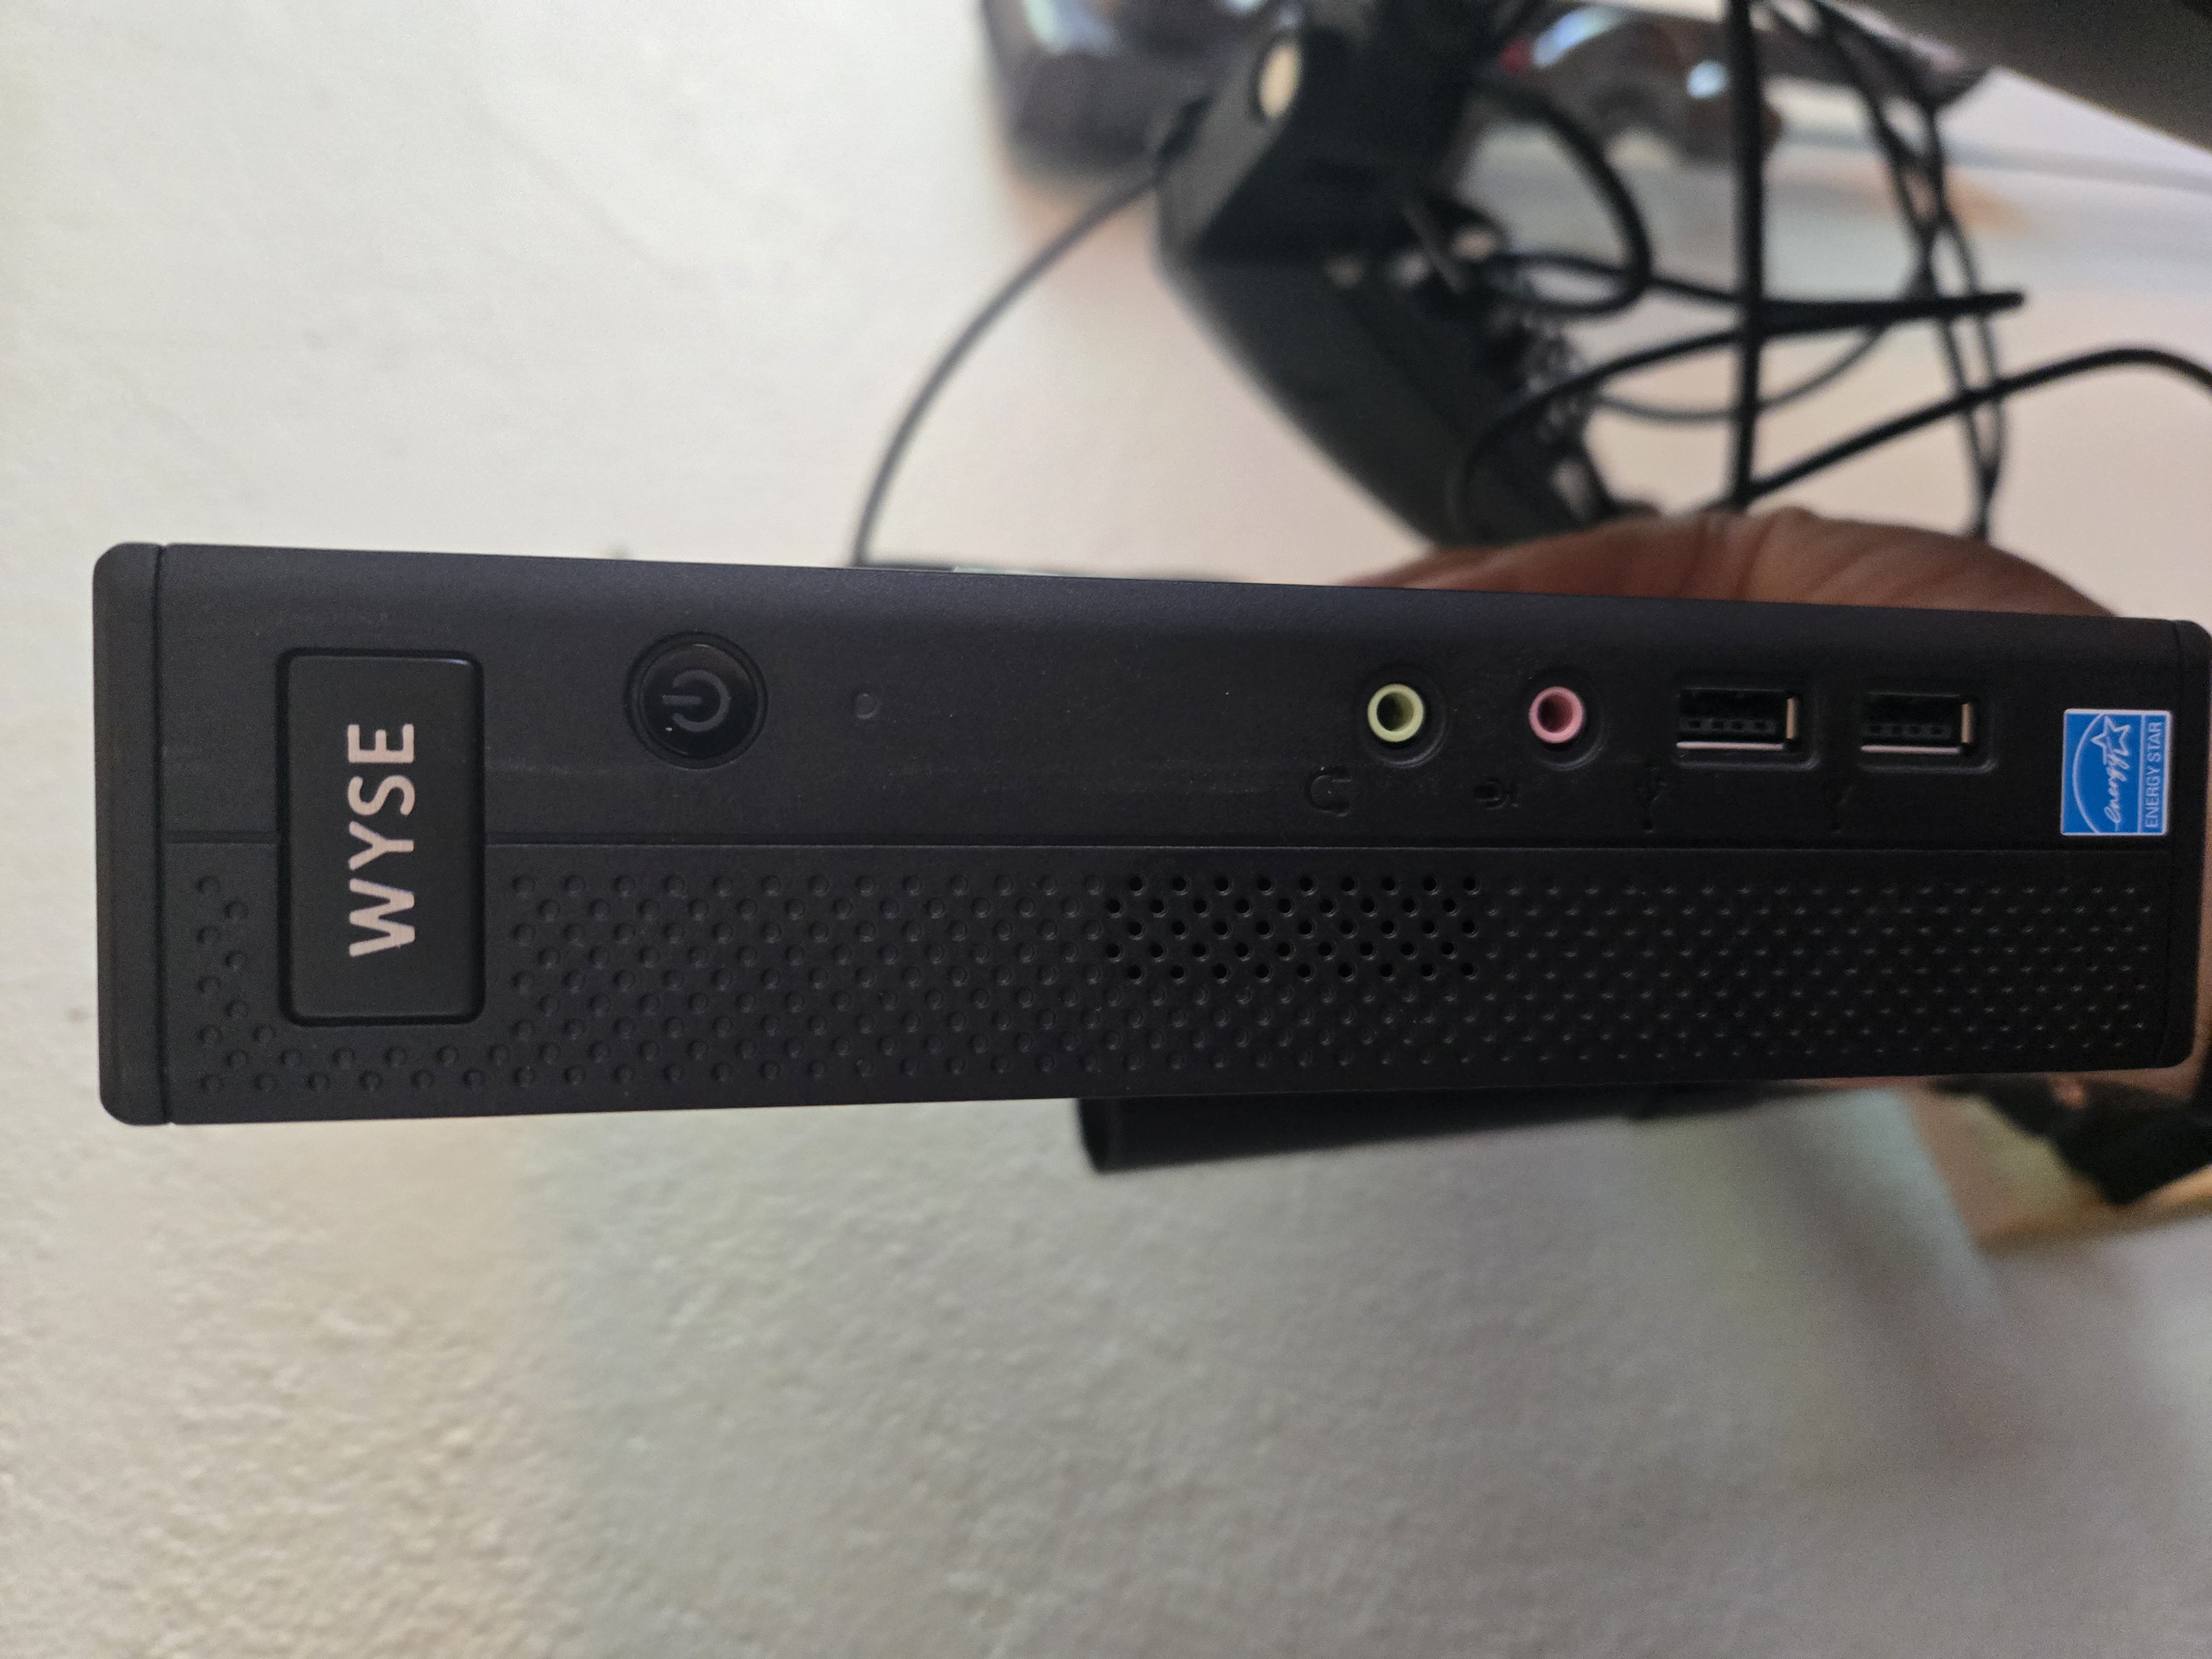
Thin client — Dell Wyse Zx0 (7010)
A fanless, palm-sized 2011-era thin client. Slow by modern standards, which is exactly the point: if OpenFamHub runs smoothly here, it runs smoothly on anything you'd plausibly hang on a wall. The app's CI even enforces a frontend bundle budget to keep it honest about this CPU.
| Spec | Value |
|---|---|
| CPU | AMD G-T56N, dual-core, 1.65 GHz |
| GPU | AMD Radeon HD 6320, dual display up to 1920×1200 |
| RAM | 4 GB DDR3 |
| Storage | 32 GB SSD (the unit shipped with Windows Embedded — reflash it with Debian) |
| Video out | 1× DisplayPort, 1× DVI |
| USB | 2× USB 3.0, 4× USB 2.0 |
| Network | Gigabit Ethernet (RJ-45); Wi-Fi on some variants |
| Size / power | 1.6″ × 7.3″ × 6.7″, fanless, a few watts idle |
Reflash it to Debian first
These units are sold with Windows Embedded (WES7/WES8) on the SSD. Install a clean Debian 12 (headless) onto it before anything else — that's what the Kiosk setup provisioning script targets. 4 GB RAM and a 32 GB SSD are ample for Debian + Docker + Chromium.
Locked BIOS? The password is Fireport
Some of these thin clients ship from Dell/Wyse with the BIOS locked — you can't change the boot order to boot your Debian USB installer until you get in. Mine was. After a lot of research and trial and error: at the password prompt, type Fireport and press Ctrl + Enter (not just Enter). That unlocks it so you can set USB as the boot device.
Connecting to the display: this Wyse has DisplayPort and DVI out — no HDMI. The Dell P2418HT accepts DisplayPort, HDMI, and VGA, so the clean link is DisplayPort → DisplayPort (one cable, both ends native). A second cable matters just as much: run the monitor's USB upstream cable to the Wyse — that's what carries touch input. Video without that USB cable gives you a display that ignores every tap.
Note the display-output name now — you'll need it for the kiosk
Since you connected over DisplayPort (above), Linux reports this output as something like DisplayPort-0 or DVI-0 — not HDMI-1. That matters later: the Kiosk setup provisioning script ships with HDMI-1 as its placeholder default (the common case on generic hardware), so on this rig you'll override it. Run xrandr --query to read the real name off this machine and jot it down — that's the value the kiosk step asks for.
Touchscreen — Dell P2418HT
A 24″ 1080p IPS panel with 10-point projected-capacitive touch. The touch layer is in-cell (no separate glass sheet) with an anti-glare finish, which keeps fingerprints and reflections down — it reads well on a wall in a bright kitchen.
| Spec | Value |
|---|---|
| Panel | 23.8″ IPS, 1920×1080 @ 60 Hz, anti-glare |
| Touch | 10-point projected capacitive, bare finger, in-cell (no glass overlay) |
| Inputs | DisplayPort 1.2, HDMI 1.4, VGA |
| Touch/USB | USB 3.0 upstream (carries touch) + a 2-port USB hub |
| Audio | 3.5 mm line-out (no built-in speakers) |
| Mount | VESA 100×100; articulating stand (tilt −5° to 60°) |
See Audio below for where the reward chime actually comes out — it's a host-side thing, not the monitor.
Audio
The chore-celebration chime plays through the host (the thin client), not the monitor — the P2418HT has only a 3.5 mm line-out and no speakers of its own. So don't count on the display for sound.
On this build we used the Wyse's own built-in speaker. It's tiny, but for a reward chime that's exactly the point — the kids hear the ding when a chore gets marked done, with no extra hardware. If you want it louder, the Wyse also has a 3.5 mm line-out you can run to any small powered speaker.
Docker host
You have two choices for where the backend runs:
- On the thin client itself (this build). The Wyse runs both the Docker stack and the kiosk browser pointed at
http://localhost:8080. Simplest — one box, one power cable. - On a separate always-on machine (a NAS, mini-PC, or home server), with the thin client acting as a pure display pointed at that machine's address.
In this reference setup it's a hybrid: OpenFamHub runs on the Wyse, while Mealie runs on the main home PC and the app reaches it over the LAN. That split is worth calling out — Mealie is the one dependency heavy enough that it's happier on a real machine than on a 2011 thin client, and the provider registry doesn't care where it lives as long as the URL resolves. See Networking for keeping those cross-machine hops reliable.
Mounting
This mount is optional
The wall mount below is just what was on hand — a repurposed monitor arm. Any VESA 100×100 wall mount works, and a tablet in a stand needs no mount at all. Skip to Tested hardware if you're not building this exact rig.
The display hangs on a single gas-spring monitor arm with its desk C-clamp removed. First a ½″ common board is screwed through the drywall into the wall studs, spanning them as a flat backer. The arm's base plate then screws into that board and into the studs — the arm and a 24″ panel are more weight than drywall anchors should carry, so both the board and the arm have to land on studs.
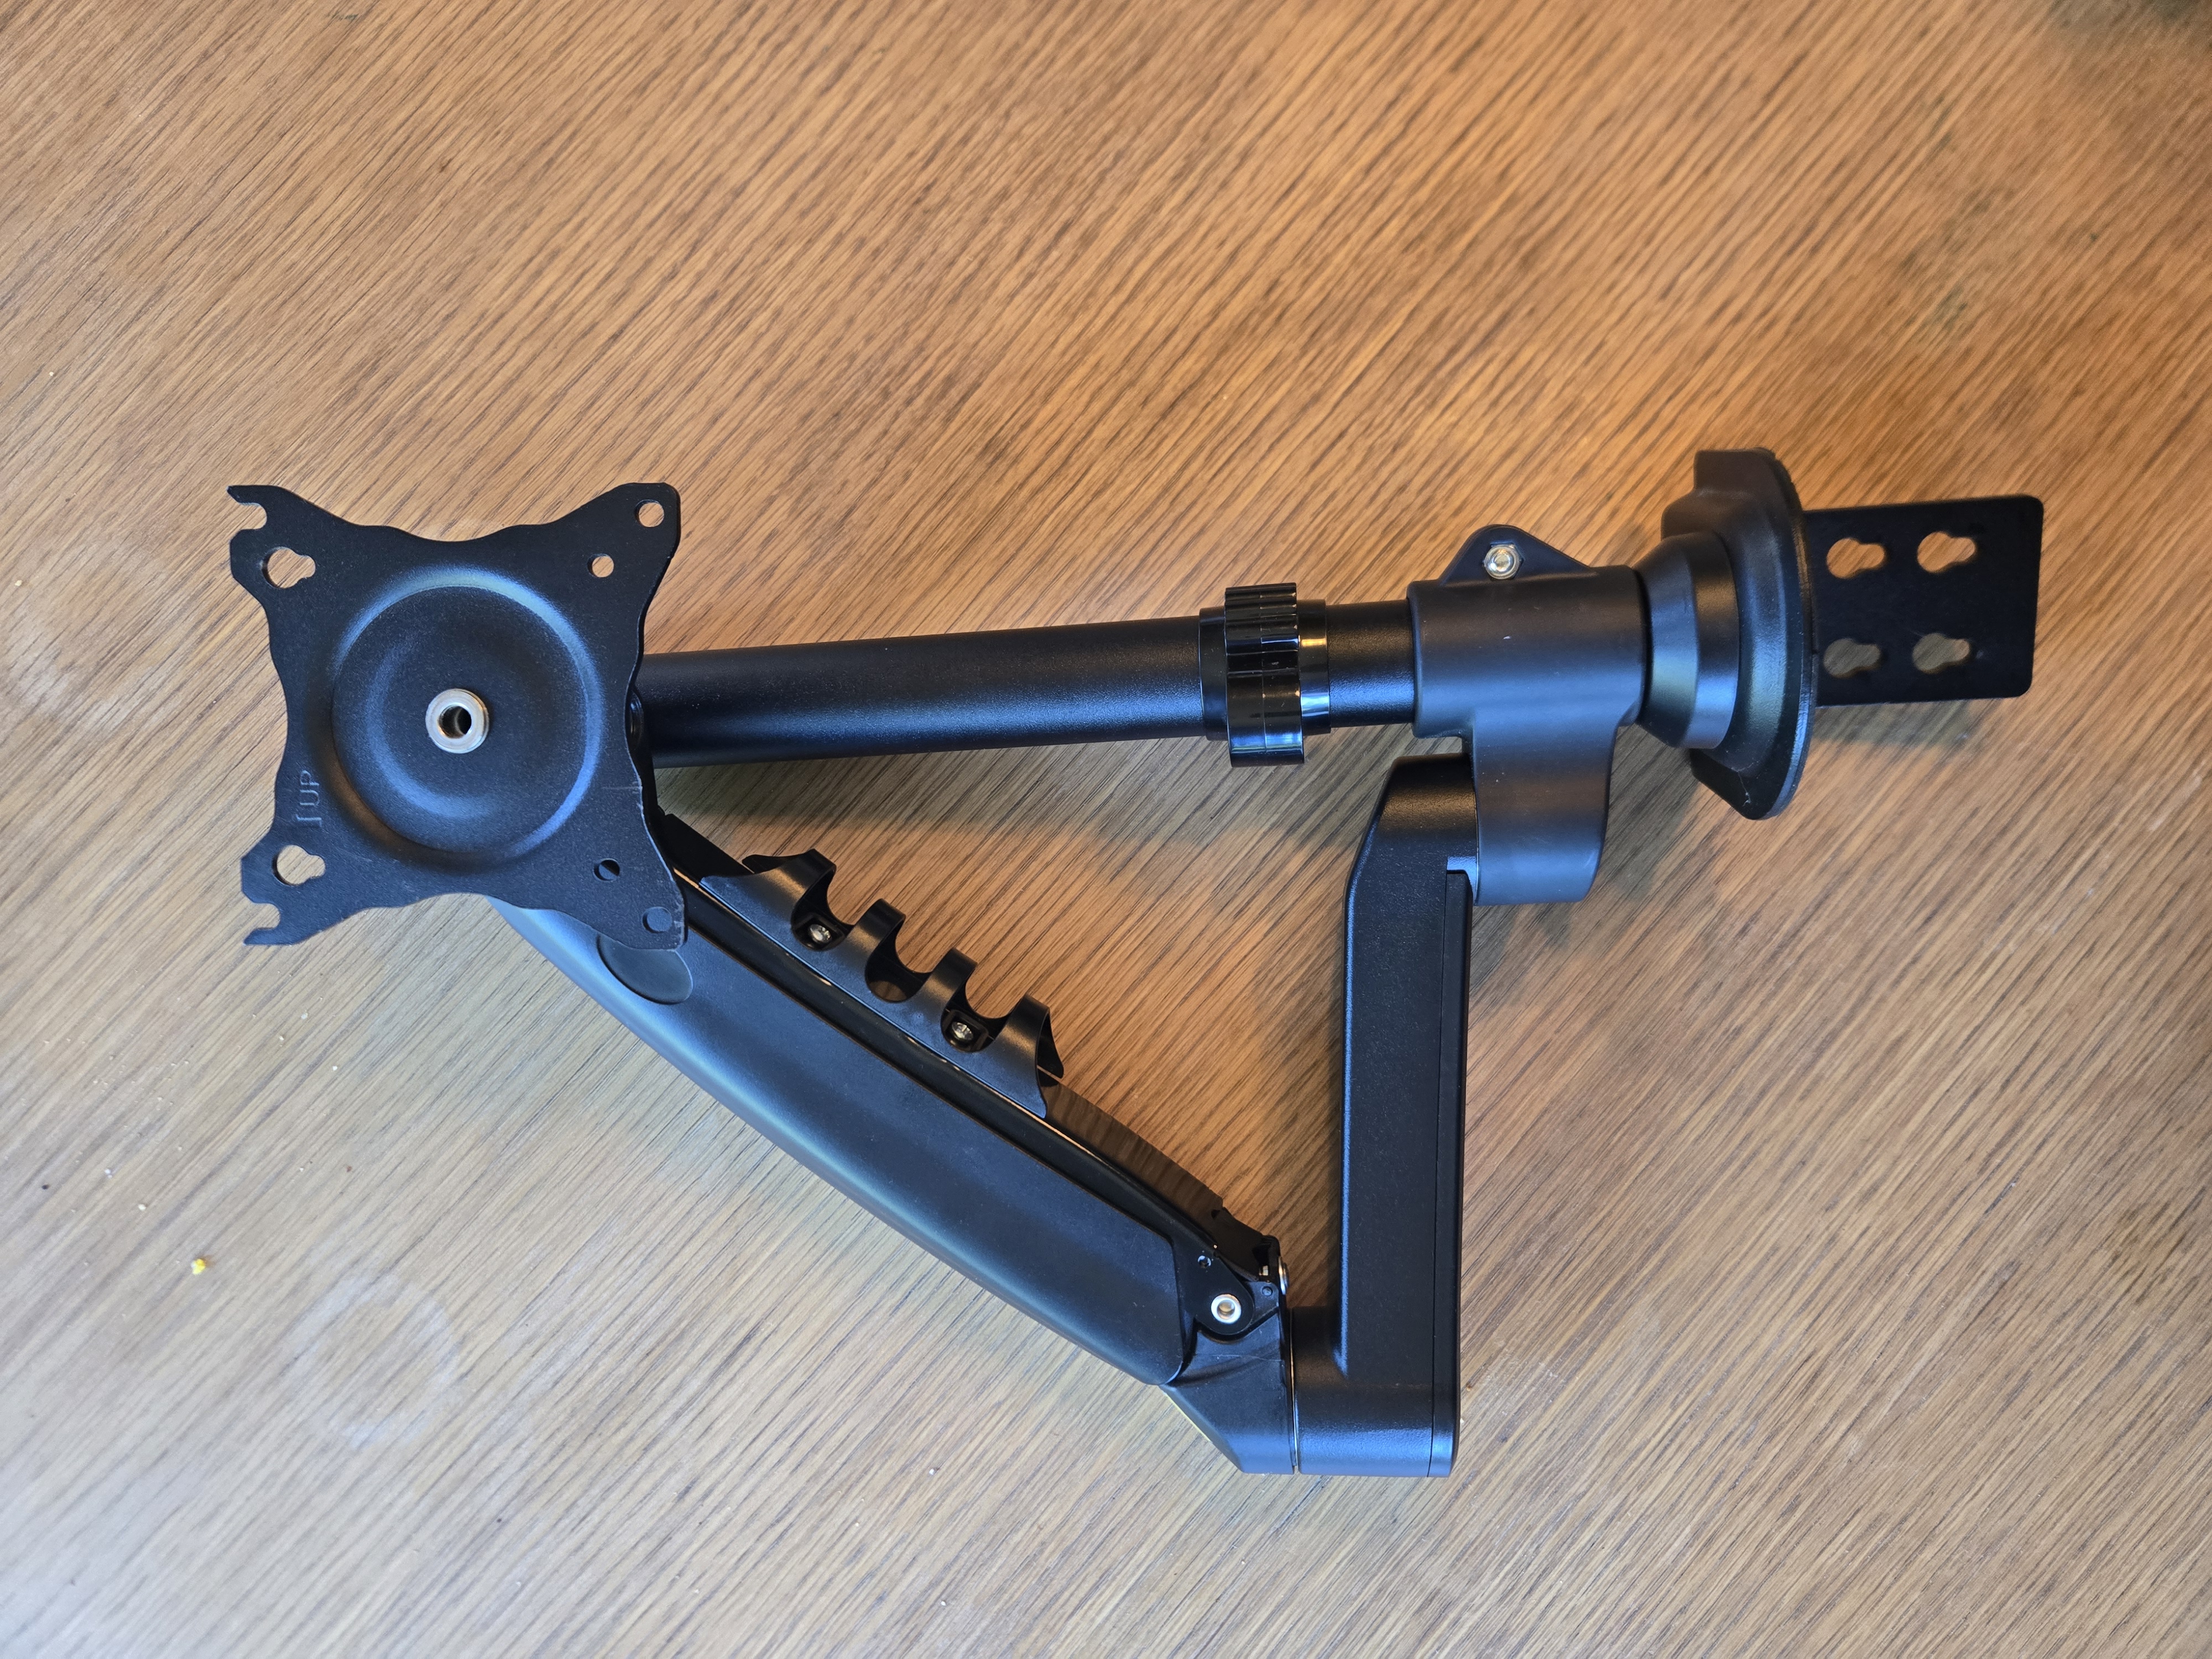
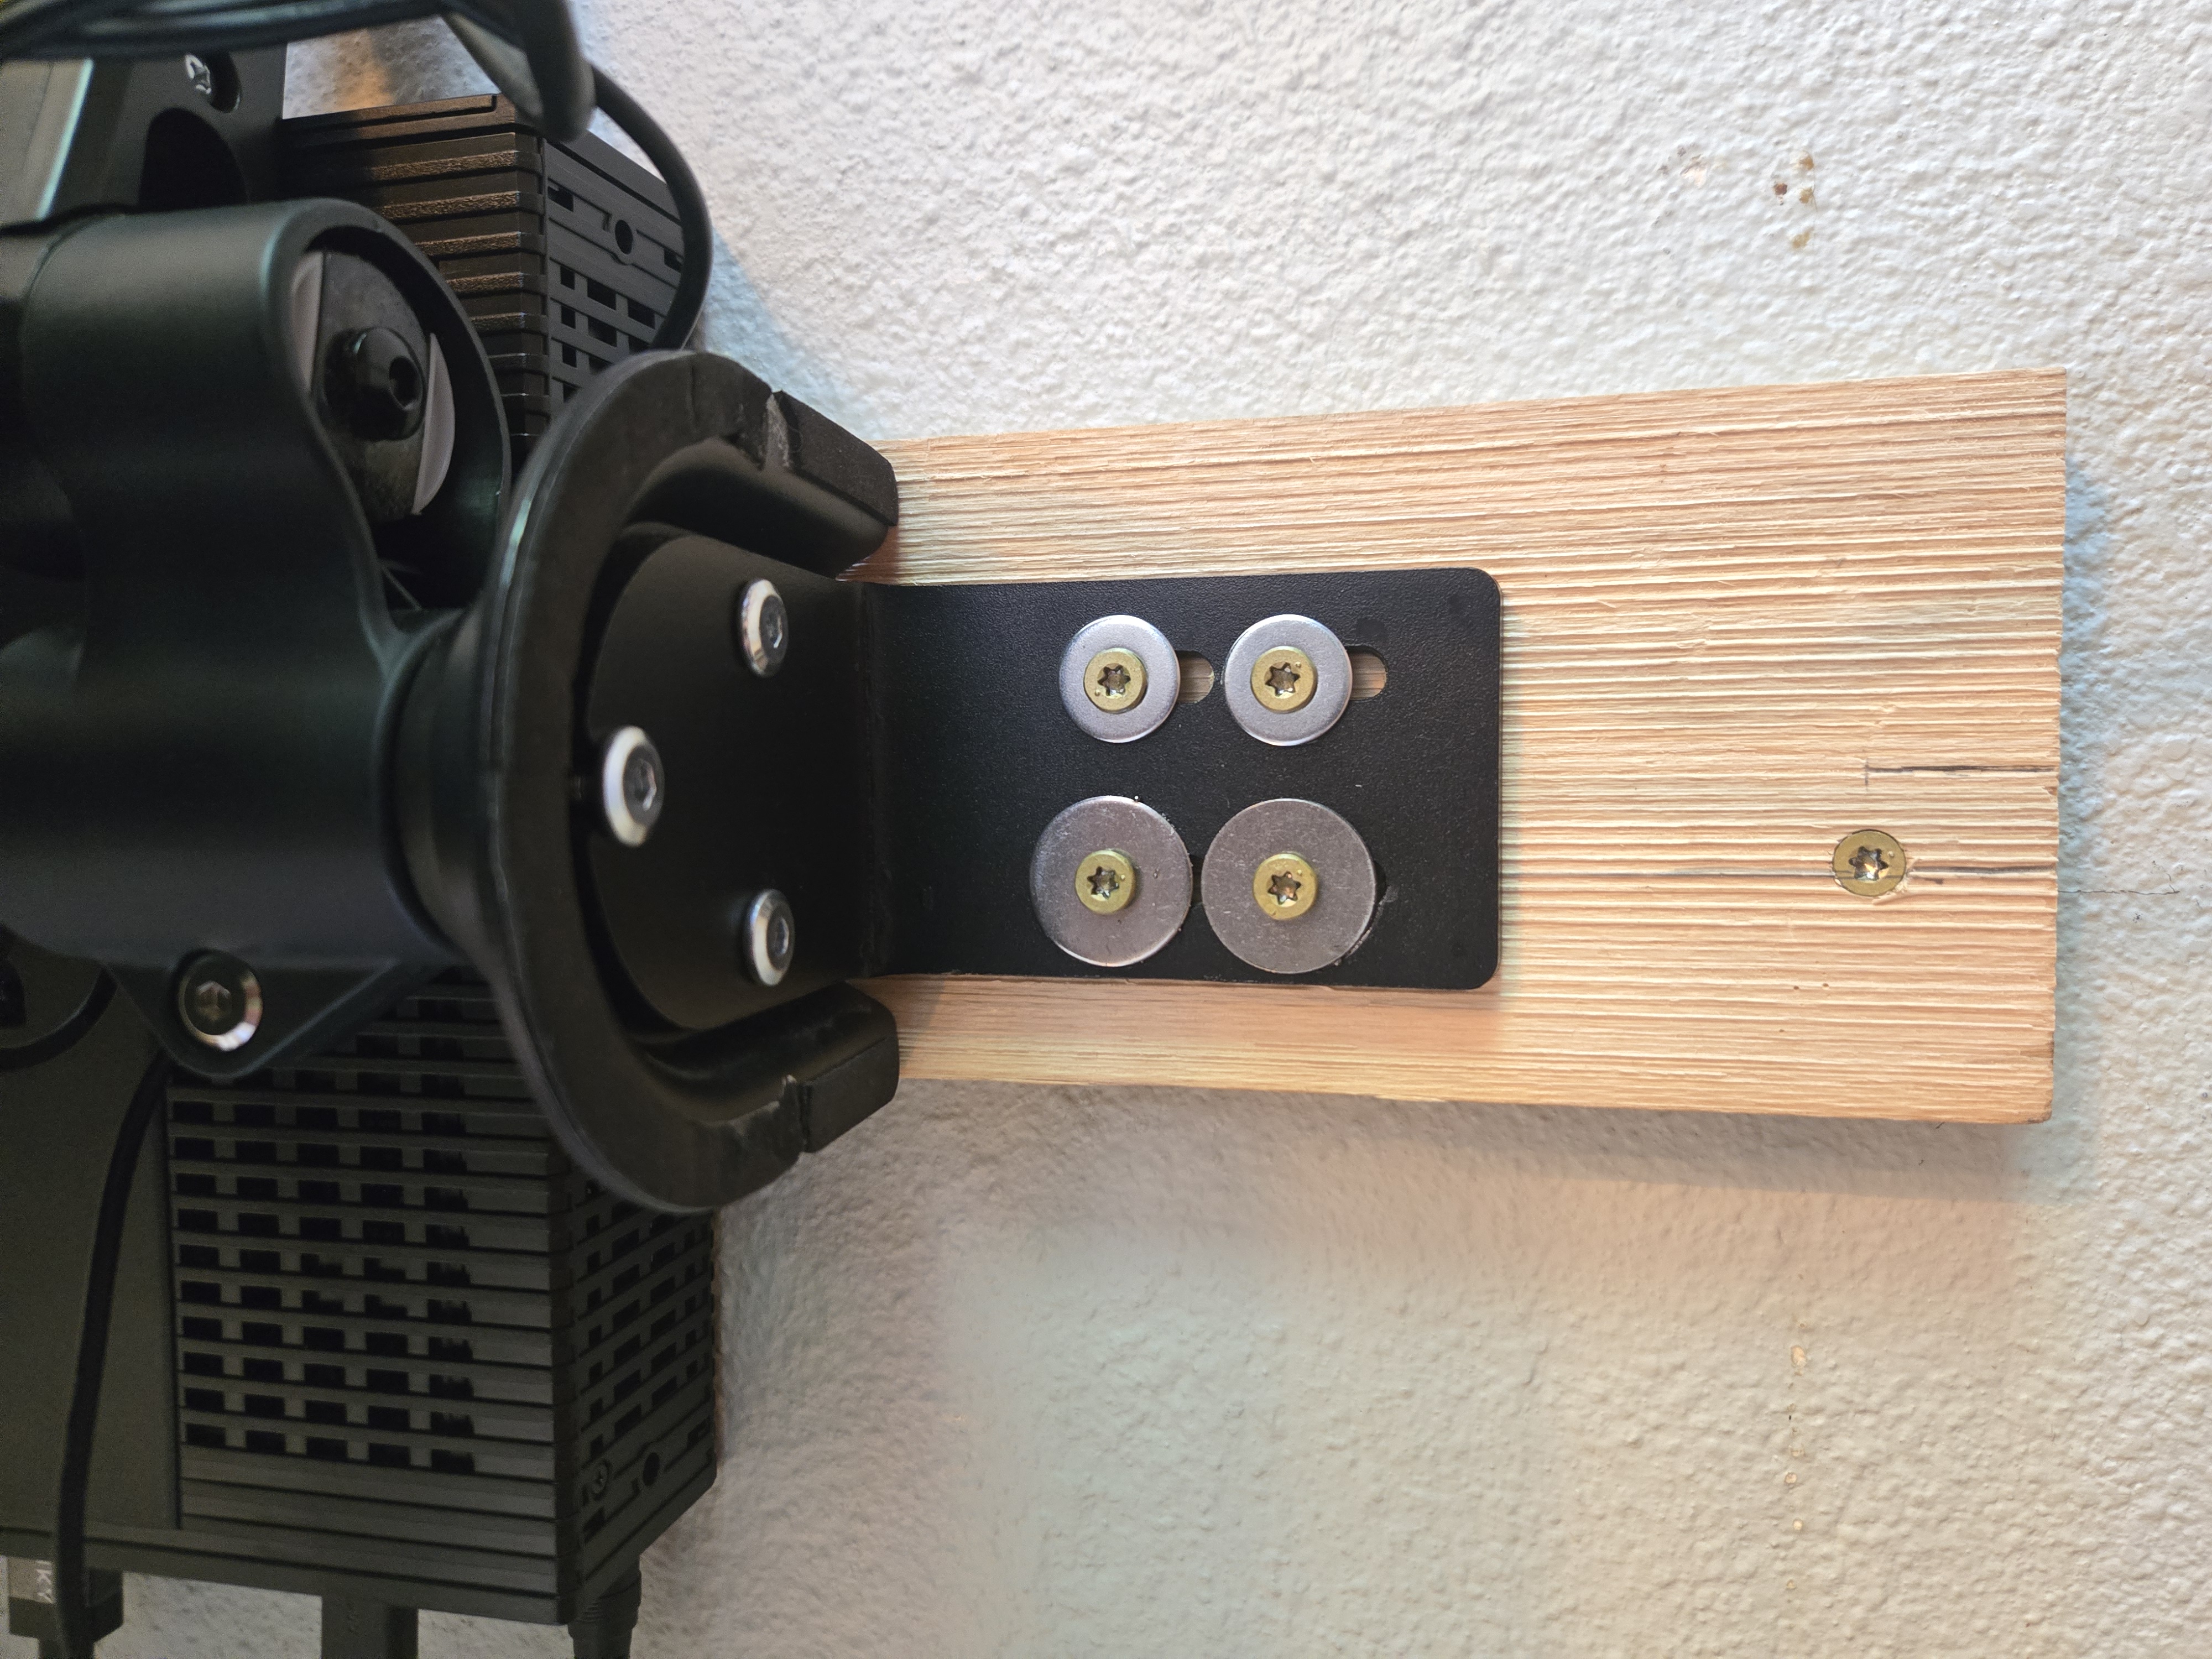
The gas-spring arm earns its place for one reason: adjustable height. It rides at adult eye level most of the time, then drops low enough for a kid to reach up, tap their chores, and watch the star-reward avatar animation. That single bit of ergonomics got the kids genuinely excited about doing chores — worth the extra effort over a fixed mount.
The thin client itself is stuck to the wall above the arm with double-sided foam tape (it's light and fanless, so tape holds fine), and the cabling is routed up through the monitor arm to keep the run tidy.
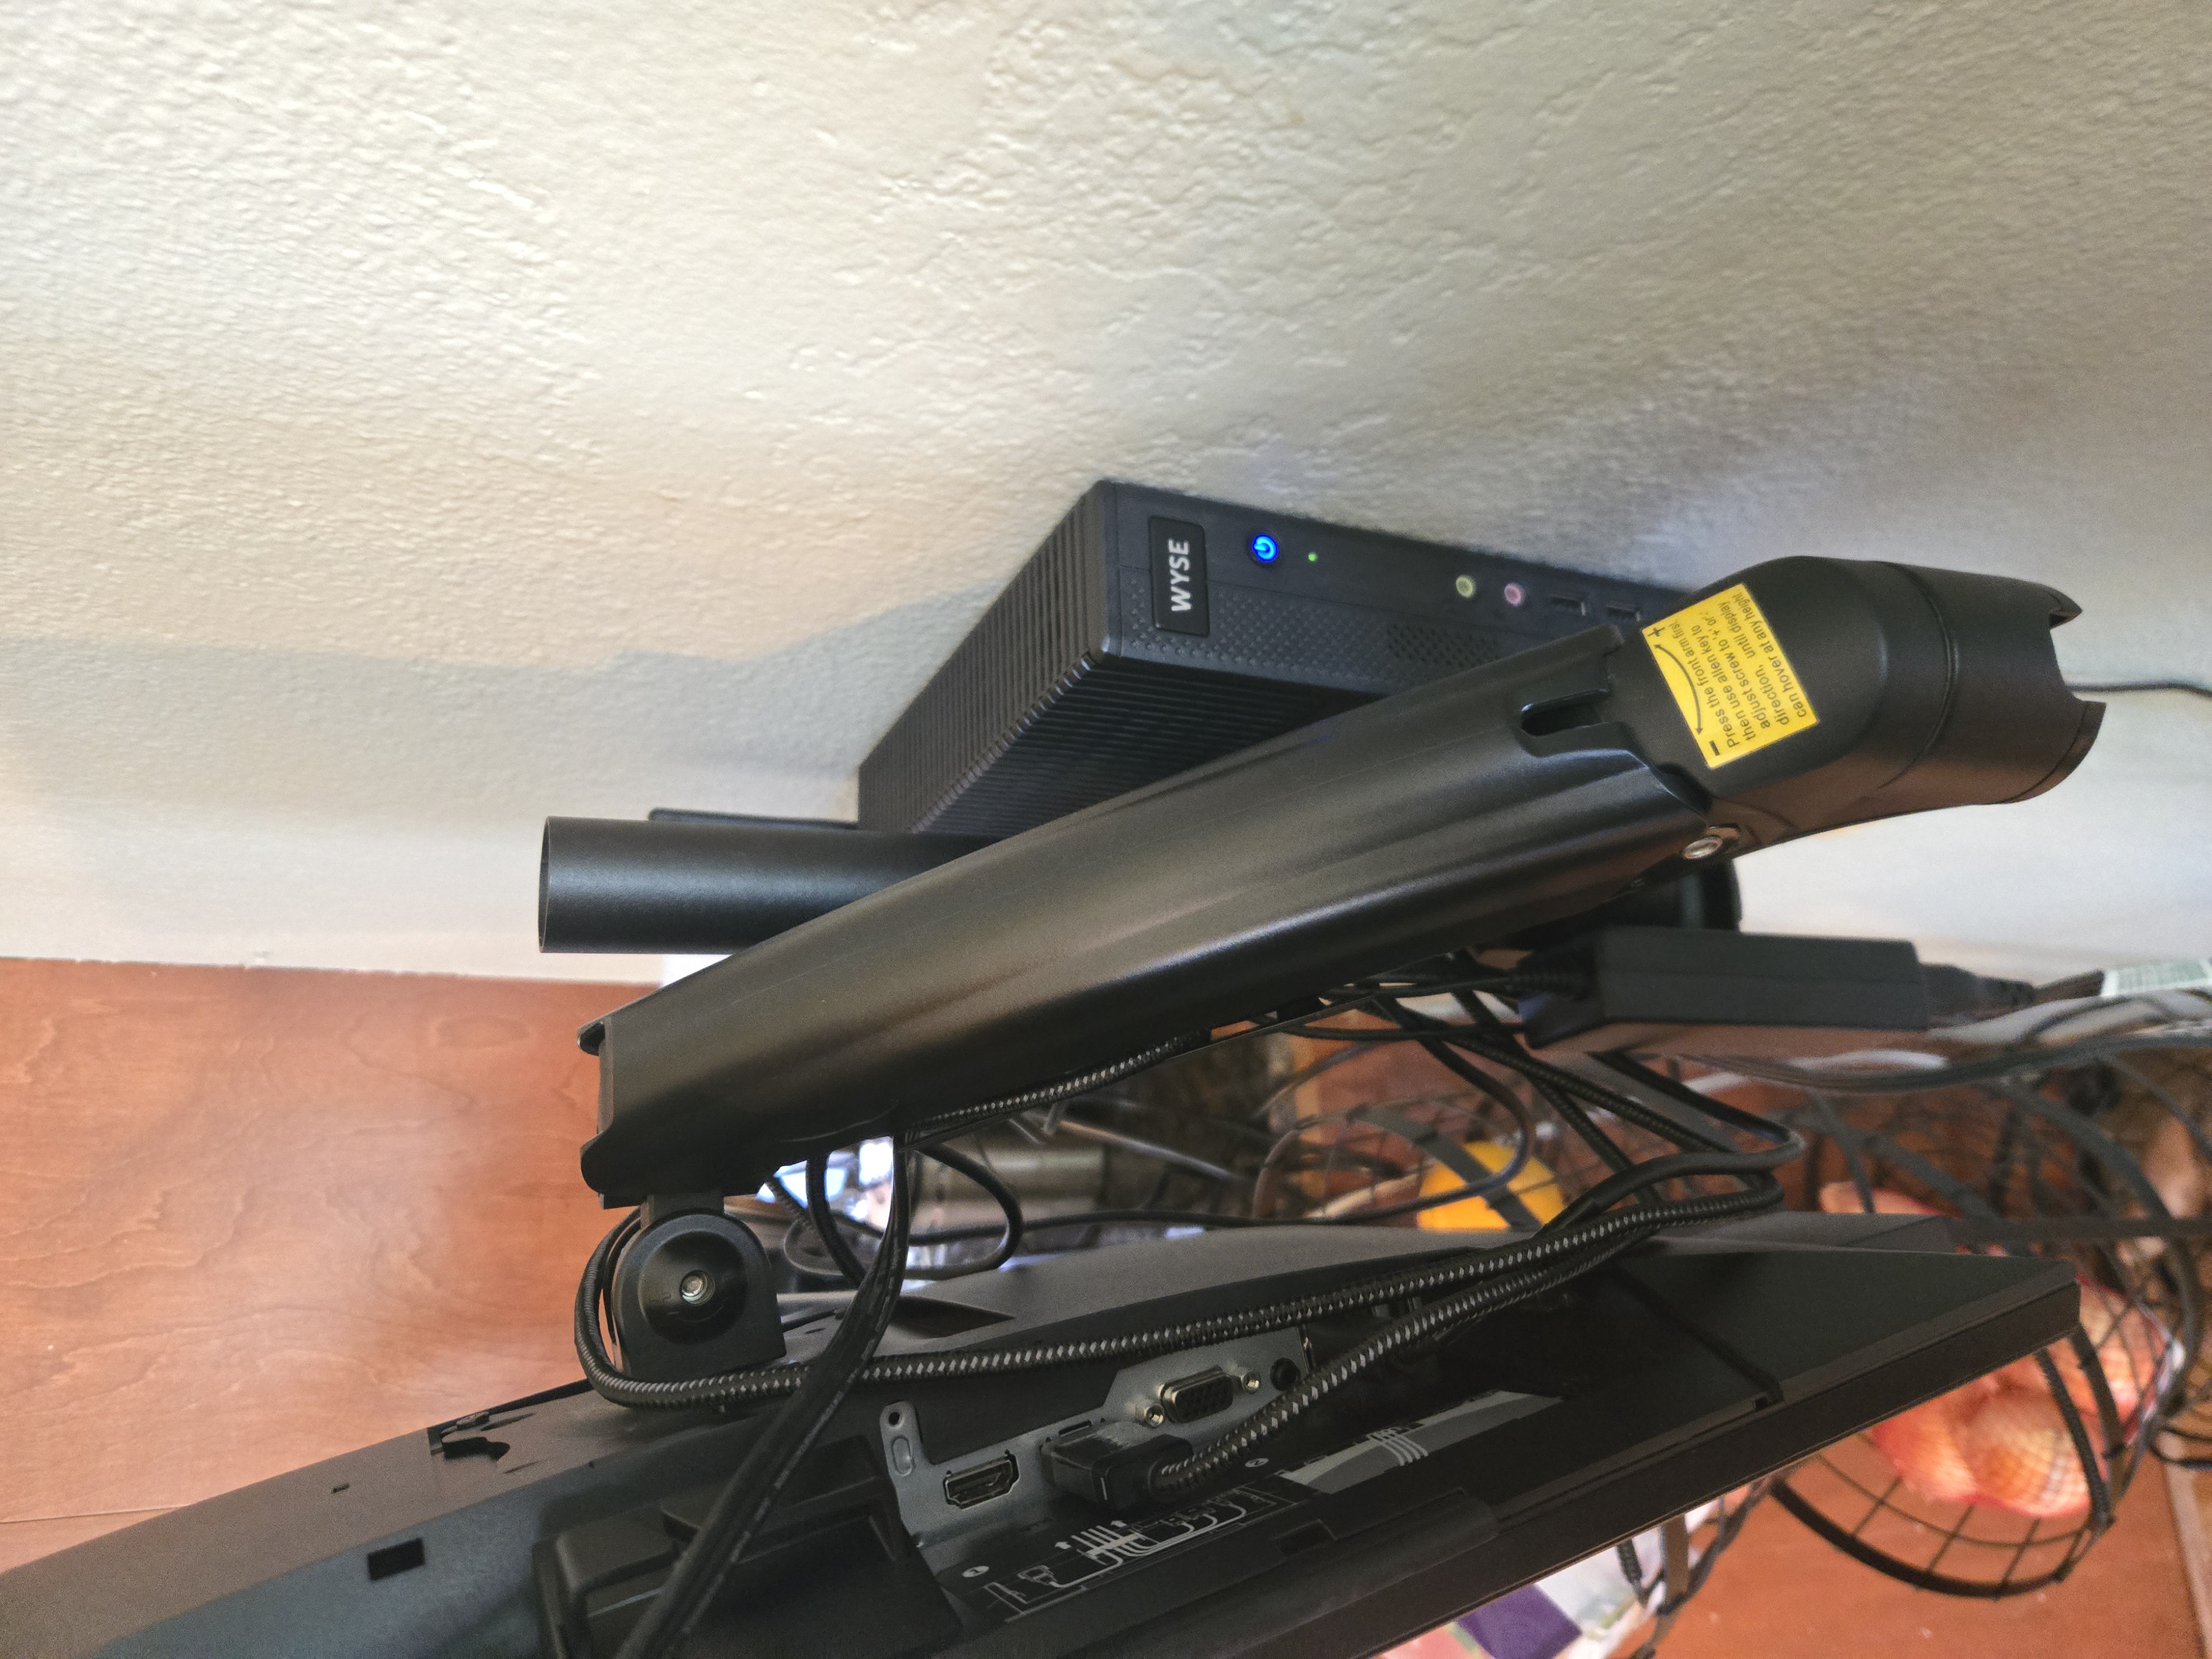
Orientation is your call
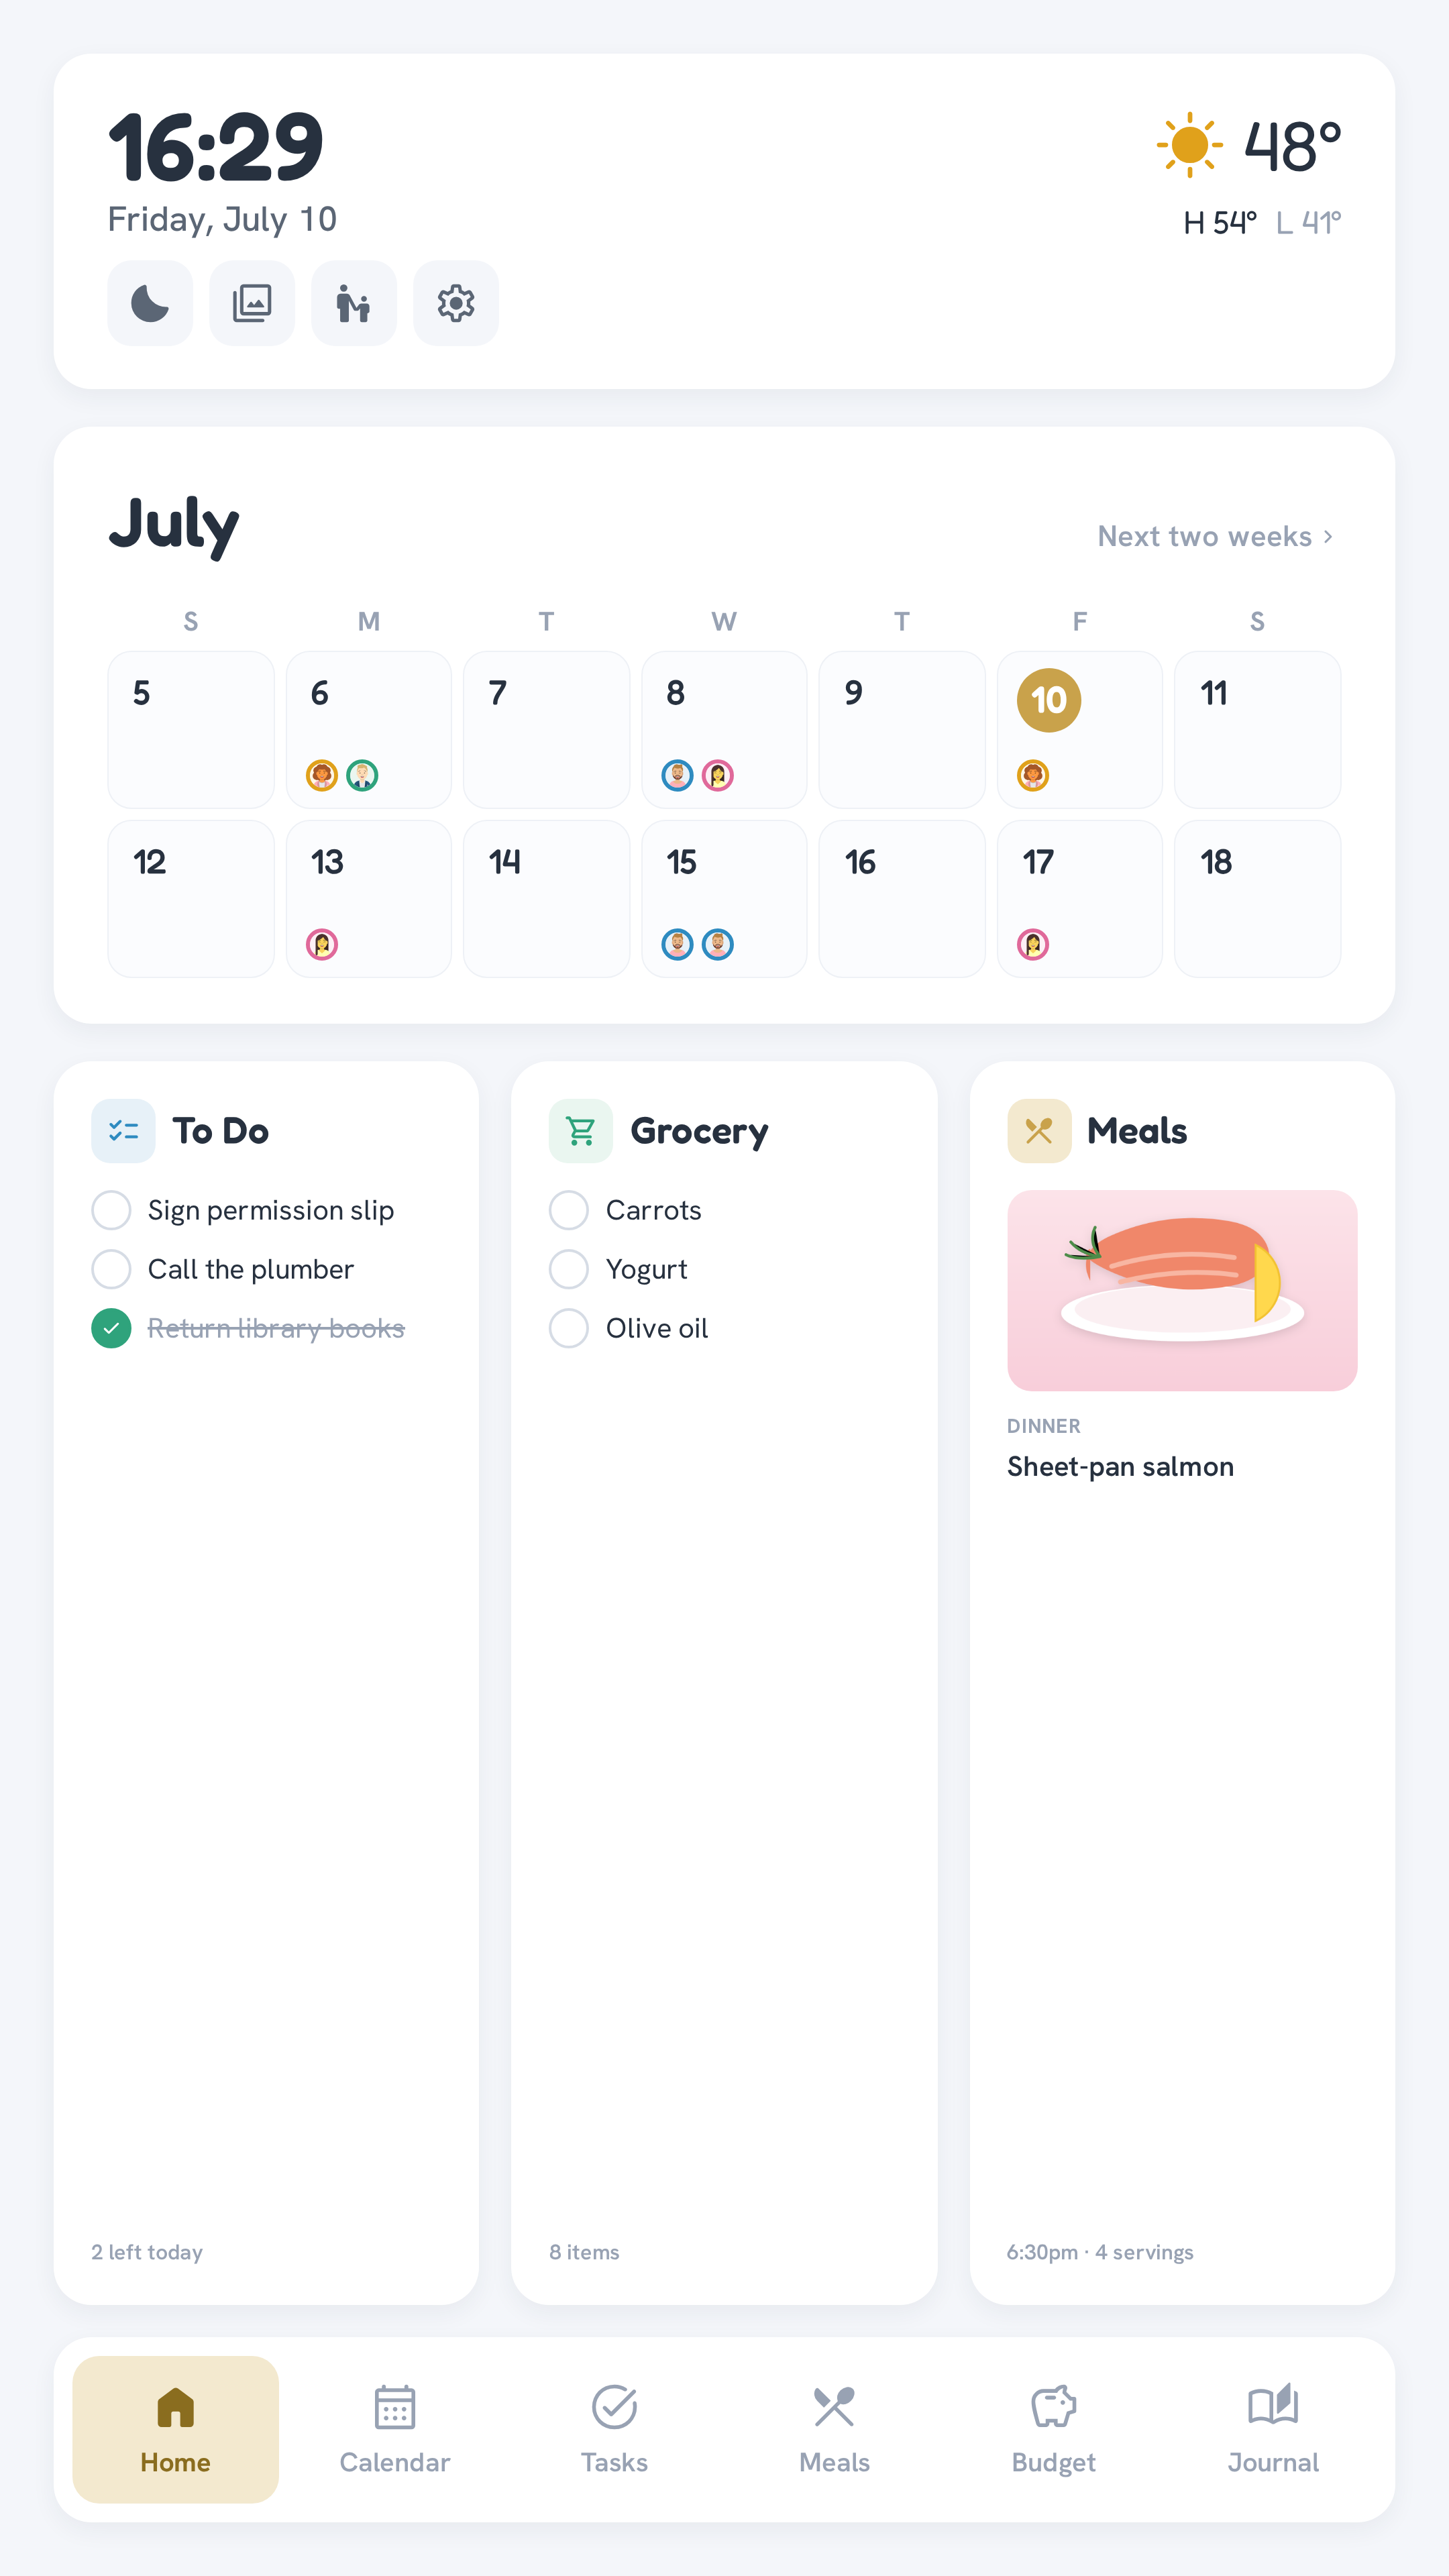
Mounted here in portrait (1080×1920) — the orientation the UI is designed for, and what the photos show. The kiosk script handles the rotation, but landscape works too if that suits your wall better. Either way, the rotation and the matching touch transform are covered in Kiosk setup.
Touch calibration is fiddly — and it lives in Kiosk setup
Getting taps to land where you touch is hardware-specific and takes iterating (on the reference Dell P2418HT the touch had to be mirrored on both axes). It's a software step, so the full copy-pasteable procedure lives in Kiosk setup → Display & touch calibration, not here.
Tested hardware
Verified combinations. Add a row when you get it running on something new.
| Docker host | Display | Orientation | Notes |
|---|---|---|---|
| Dell Wyse Zx0 (7010), Debian 12 | Dell P2418HT 24″ touch | Portrait (landscape supported) | Reference build. DP→DP video + USB upstream for touch. Touch needed vertical + horizontal mirror. |